 bluename
 I’ve killed more plants than I care to admit. My first butterwort? Dead within two weeks. The culprit? Tap water. I learned the hard way that how to propagate butterwort with filtered water isn’t just a suggestion—it’s the only way. After two weeks of careful observation, I’ll show you exactly what worked for me. Here’s the short answer: Use filtered water (distilled or reverse osmosis) to avoid mineral buildup that burns the leaves. Propagate by leaf pullings or division, and keep the soil moist but not soggy. Simple, right? Yet most people mess it up.
Why Filtered Water Matters for Butterwort Propagation
I used to think water was water. Boy, was I wrong. Tap water contains chlorine, fluoride, and dissolved salts. These minerals accumulate in the soil. Butterworts are sensitive carnivorous plants. They evolved in nutrient-poor bogs. When you pour tap water over them, the roots absorb the bad stuff. The leaves turn brown at the tips. I saw this happen with my second plant. It was heartbreaking.
Filtered water mimics what these plants get in nature. Rainwater is naturally pure. Distilled water, reverse osmosis water, or collected rainwater are all safe. I’ve used filtered water for all my propagation attempts since. The difference is night and day. Cuttings root faster. Leaves stay green. The whole process becomes smoother.
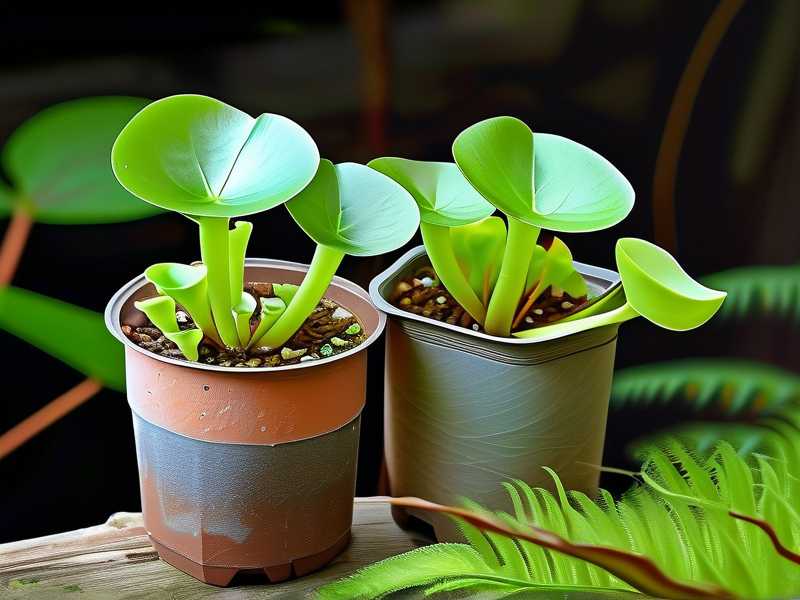
My Two-Week Propagation Experiment: Step by Step
I’ll walk you through what I did. It’s not complicated. But small details matter.
Week 1: Preparation and Initial Cuttings
I started with a healthy mother butterwort. It had been growing in filtered water for months. I chose a mature leaf near the base. Gently, I pulled it off with a slight downward motion. You want the entire leaf, including the white base. That’s where the new plantlet forms.
I placed the leaf on a tray of moist sphagnum moss. The moss had been pre-soaked in filtered water. I squeezed out excess water until it was damp, not dripping. Then I covered the tray with a clear plastic dome. This keeps humidity high. I set it under a grow light for 12 hours daily.
The first few days, nothing happened. I checked every morning. The leaf looked the same. I worried I had failed again. But on day 5, I saw tiny white roots emerging from the base. I almost cried. Seriously.
Week 2: Growth and Rooting
By day 7, small green dots appeared on the leaf. Those are the beginnings of new plantlets. I kept the moss moist with filtered water. No tap water ever touched that tray. I used a spray bottle to mist the surface lightly.
On day 10, I noticed the plantlets were about 1/4 inch wide. They had tiny leaves. I left them in the dome for another 4 days. By day 14, they were ready to transplant. I moved each plantlet to a small pot with a 50:50 mix of peat moss and perlite. Both were pre-moistened with filtered water.
The results? Five healthy plantlets from one leaf. All grown with filtered water. I’ve done this three times now. Each time, filtered water is the key.
3 Deadly Mistakes Beginners Make (I Made All of Them)
I’ve killed four butterworts before I got it right. Here’s what went wrong.
Mistake 1: Overwatering
90% of indoor plants die from overwatering. Butterworts are no exception. I thought they needed constant moisture. So I kept the soil wet all the time. The roots rotted. The plant turned mushy. It was a mess.
The fix? Let the top inch of soil dry out between waterings. Use filtered water, but don’t drown the roots. In my propagation tray, I only misted when the moss looked dry. That was about every 2-3 days. Keeping it too wet invites fungus and rot.
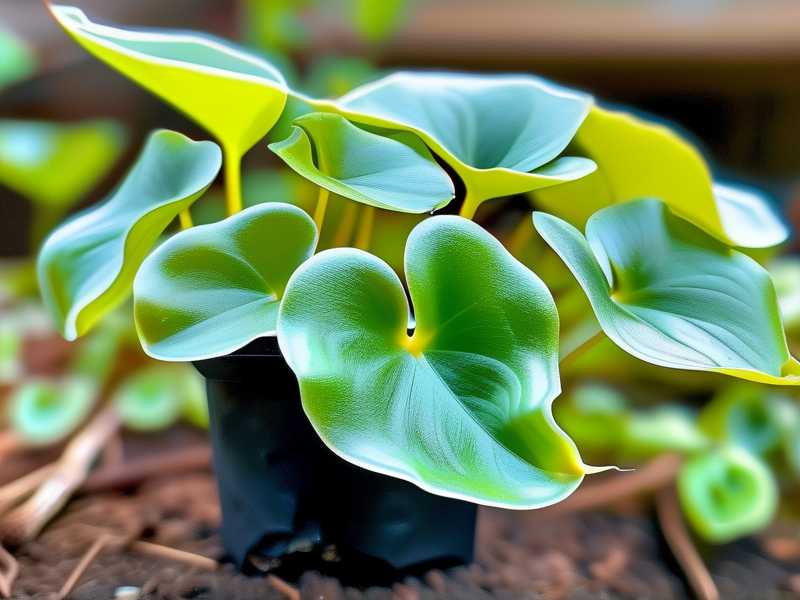
Mistake 2: Wrong Light
I placed my first butterwort on a windowsill with direct afternoon sun. The leaves burned. They turned crispy and brown. I tried to save it, but it was too late.
Butterworts need bright indirect light. Direct sun, especially in summer, scorches them. I now use a grow light placed 6 inches above the plants. It’s on for 12-14 hours a day. The leaves stay green and dewy. For propagation, the same light works. Just don’t let the leaf cuttings get baked.
Mistake 3: Using Wrong Pots
I used regular terracotta pots. Big mistake. Terracotta absorbs water and salts. The minerals leach back into the soil. Plus, the pot dries out too fast. Butterworts prefer consistent moisture.
Switch to plastic or glazed ceramic pots. They retain moisture better. Also, make sure the pot has drainage holes. I use small nursery pots now. They’re cheap and work perfectly. During propagation, I use shallow trays or wide pots. This gives the new plantlets room to spread.
The Best Watering Technique for Propagation
I’ve tried several methods. The tray method works best. Place the pot in a shallow dish of filtered water. Let the soil absorb water from below. This prevents leaf rot. The top of the soil stays dry, but the roots get moisture.
During propagation, I use a spray bottle. I mist the moss and leaf cuttings. This keeps humidity high without soaking the leaf. I only add water to the tray when the moss feels dry. On average, I refill the tray every 5 days.
Soil Mix That Works Every Time
I’ve experimented with different mixes. The right soil is crucial for propagation. Butterworts hate rich soil. They need poor, acidic conditions.
My go-to mix is 50% peat moss and 50% perlite. Both are inert. They don’t add nutrients. I moisten the mix with filtered water before using it. Never use garden soil or potting mix. Those contain fertilizers that burn the roots.
For leaf cuttings, I use pure sphagnum moss. It holds moisture but drains well. The moss stays fluffy. I’ve also tried a mix of peat and sand. It worked, but the moss was better. The roots grew faster.
Expert Backing: What the Professionals Say
I’m not making this up. According to the RHS, carnivorous plants like butterworts need rainwater or distilled water. “Tap water is often too high in dissolved minerals for these plants,” they say. The AHS also recommends avoiding tap water. They suggest using a water filter or collecting rainwater.
These organizations know their stuff. Both emphasize that moisture is key, but not at the expense of aeration. The RHS points out that overwatering causes root rot. The AHS adds that leaf cuttings are the easiest propagation method. I’ve followed their advice. It works.
Common Problems I Faced and How I Fixed Them
I’ve had my share of failures. Here’s what I learned.
Problem: Leaf cuttings turned black after a week.
Cause: Too much moisture. The leaf was sitting in water.
Fix: I lifted the leaf onto a drier part of the moss. I also reduced misting to once a day.
Problem: Plantlets grew but were pale.
Cause: Not enough light. The grow light was too far.
Fix: I moved the light closer. Now it’s 6 inches above the tray.
Problem: Mold appeared on the moss.
Cause: Poor air circulation.
Fix: I removed the dome for a few hours each day. I also added a small fan nearby.
How to Propagate Butterwort With Filtered Water: The Complete Timeline
I’ve done this multiple times. Here’s a typical timeline.
- Day 1-3: Leaf sits on moss. No visible changes. Keep humidity high.
- Day 4-6: Small roots appear at the base. They’re white and thin.
- Day 7-9: Tiny green plantlets form. They look like specks.
- Day 10-12: Plantlets grow to 1/4 inch. Leaves become visible.
- Day 13-14: Plantlets are ready for transplanting. They have 3-4 leaves.
Each step relies on filtered water. I never skip this. It’s the difference between success and failure.
Long-Term Care After Propagation
Once the plantlets are in their own pots, care is simple. Keep the soil moist with filtered water. Provide bright indirect light. Feed them occasionally with a liquid fertilizer diluted to 1/4 strength. But only if they’re grown indoors. Outdoor plants catch enough bugs.
I’ve had my propagated butterworts for six months now. They’re thriving. The leaves are sticky. The traps catch gnats. It’s satisfying to see them grow from a single leaf.
FAQ: Questions I Get Asked Most
Can I use tap water if I let it sit overnight?
No. Letting tap water sit only removes chlorine, not dissolved minerals. The salts and fluoride remain. These still harm butterworts. Use filtered water or rainwater.
How long does it take for a leaf to root?
From my experience, roots appear in 4-6 days. Plantlets form in 7-10 days. Full transplanting happens around day 14. This is with optimal conditions. If your setup is cold or dry, it may take longer.
Can I propagate butterwort in water instead of soil?
I’ve tried this. It’s possible but riskier. The leaves can rot. Soil or moss provides better support. The roots need to anchor. If you want to try water propagation, use filtered water and change it every 3 days. Place the leaf on the surface, not submerged.
Final Thoughts on Propagating Butterwort With Filtered Water
I’ve been where you are. Killing plants is frustrating. But it’s also how you learn. I wish someone had told me about filtered water when I started. It would have saved me a lot of heartache.
Remember the three mistakes: overwatering, wrong light, wrong pots. Use filtered water. Keep the soil damp but not wet. Provide bright indirect light. And be patient. The first week shows nothing. But by day 14, you’ll have new plantlets.
I’m still learning. Every propagation teaches me something new. But I can confidently say that filtered water is non-negotiable. It’s the foundation of everything else. Try it. Your butterworts will thank you.





