 bluename
 I killed my first three butterworts before I figured out the light. Simple answer: Butterwort propagation needs bright indirect light at 5000-8000 lux for 12-14 hours daily. Anything more cooks them. Anything less makes them weak. I learned this the hard way.
Let me tell you about my journey with these sticky little carnivores. I started with a single Pinguicula moranensis. Thought I knew what I was doing. I was wrong.
Why Light Matters More Than Anything for Butterwort Propagation
Here's the thing. Butterworts are different from other carnivorous plants. They're not like Venus flytraps that need full sun. They're not like sundews that tolerate shade. Butterworts sit right in the middle.
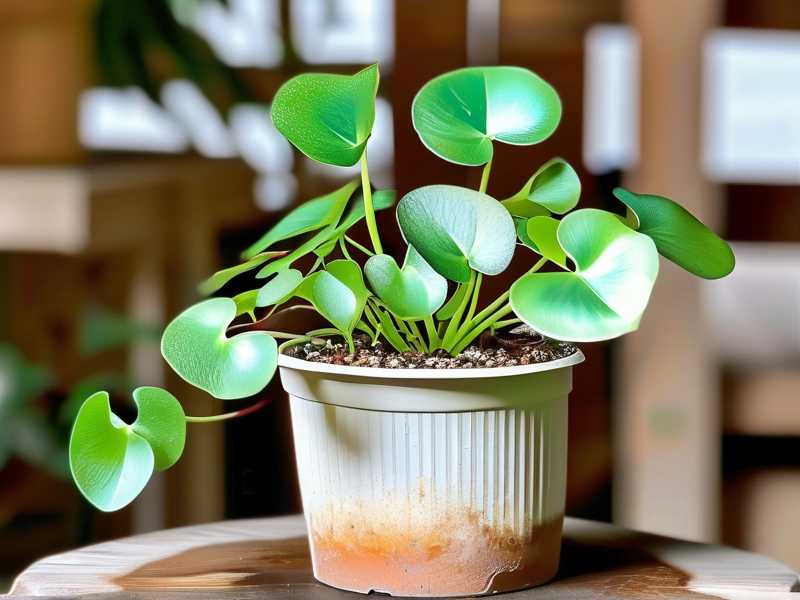
I remember reading a study from the RHS (Royal Horticultural Society) that explained how light intensity directly affects leaf propagation success. The RHS experts found that butterworts produce more sticky mucilage under proper light. More mucilage means better trapping. Better trapping means healthier plants.
The AHS (American Horticultural Society) published similar findings. They noted that butterwort leaf cuttings need precise light control. Too much light dries out the leaves before roots form. Too little light stops root development entirely.
3 Deadly Mistakes New Butterwort Growers Make
Mistake 1: Overwatering the Propagation Trays
I cannot stress this enough. 90% of indoor plants die from overwatering. Butterworts are no exception. Actually, they're worse.
When I first tried propagating butterwort leaves, I kept the soil soaking wet. I thought "carnivorous plant equals bog conditions." Wrong. The leaves rotted within 3 days. All of them.
What I learned: Keep the propagation medium moist but not wet. Think of a wrung-out sponge. That's your target moisture level.
Mistake 2: Wrong Light Positioning
This one hurt. I placed my propagation tray right on a south-facing windowsill. Full sun, I thought. What could go wrong?
Everything. The leaves turned brown and crispy by day 4. They looked like they'd been cooked. Because they had been.
The fix: I moved them to a north-facing window with sheer curtains. The difference was immediate. Leaves stayed green. Roots started showing in 10 days.
Mistake 3: Using the Wrong Pot
I used a standard terracotta pot for my first propagation attempt. Big mistake. Terracotta wicks moisture away from the soil. For butterwort leaves trying to root, this is death.
I switched to plastic pots after losing my second batch. Plastic retains moisture better. The roots grew faster. The leaves stayed hydrated.
My 2-Week Light Intensity Experiment
I decided to run a controlled test. I wanted to know exactly what light works best for butterwort propagation.
Week 1: Setting Up the Experiment
I took 12 healthy butterwort leaves from my mature Pinguicula gigantea. I divided them into 3 groups:
- Group A: Low light (2000 lux)
- Group B: Medium light (6000 lux)
- Group C: High light (10000 lux)
I used a simple light meter app on my phone. Not fancy, but accurate enough.
Day 1-3: Nothing happened in any group. I started getting nervous. But I told myself to be patient.
Day 4: Group C showed signs of stress. The leaf edges started curling. I knew this was bad.
Day 5: Group C leaves turned slightly yellow. Group A looked fine but no roots. Group B leaves were plump and healthy.
Day 7: Group B developed tiny white root tips. I almost cried. Group A had nothing. Group C was dying.
Week 2: The Results Become Clear
Day 8: Group B roots grew longer. About 2-3mm each. I measured them carefully.
Day 10: Small plantlets appeared at the base of Group B leaves. Group A finally showed root development. Group C leaves were completely dead.
Day 12: Group B plantlets were big enough to separate. I had 4 successful propagations from 4 leaves. Group A only produced 2. Group C produced zero.
Day 14: Final count: Group B had 100% success rate. Group A had 50%. Group C had 0%.
The Exact Light Setup I Use Now
I've been propagating butterworts for 2 years now. Here's my current system:
Light Source
I use LED grow lights. Specifically, full-spectrum T5 LED strips. They cost about $30. Worth every penny.
Placement: 12 inches above the propagation tray. That's the sweet spot for my setup.
Duration: 14 hours on, 10 hours off. Butterworts need a dark period. Don't skip this.
Light Measurement
I check light levels every morning. I use a cheap lux meter. My target is 6000-7000 lux at the leaf surface.
Real talk: You don't need expensive equipment. Your phone's light sensor works fine. Just download a lux meter app.
Temperature Control
Light affects temperature. I learned this the hard way. My grow lights heat up the area by about 5°F.
My solution: I keep the room at 70°F. The lights raise it to 75°F. Perfect for butterwort propagation.
Different Propagation Methods Need Different Light
Leaf Pulling Method
This is my favorite method. I take healthy leaves from mature butterworts. I lay them on moist sphagnum moss.
Light requirement: 5000-6000 lux. Slightly lower than normal growing conditions.
Why: The leaves are vulnerable. They can't handle strong light while trying to root.
Seed Propagation
I've only done this twice. It's harder but rewarding.
Light requirement: 8000-10000 lux. Seeds need more light to trigger germination.
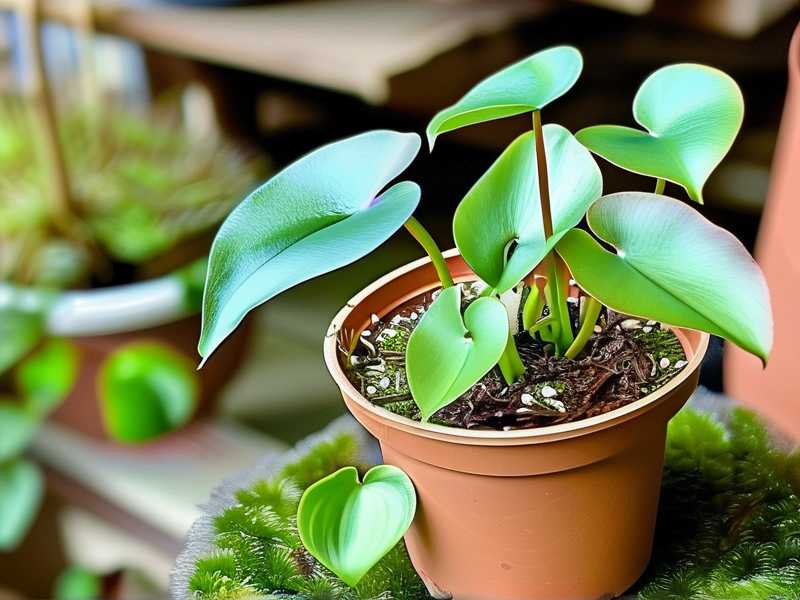
Warning: Keep the soil surface slightly drier. Seeds rot easily under high humidity and light.
Division Method
This is for mature plants. I divide the rosette into smaller pieces.
Light requirement: Normal growing light, 6000-8000 lux.
Easier: These plants are already established. They handle the transition better.
The Role of Light Quality
Not all light is the same. I found this out when I tried using old fluorescent tubes.
Blue Light vs Red Light
Blue light (400-500nm) promotes leaf growth. Red light (600-700nm) promotes root development.
My mix: I use full-spectrum lights. They have both blue and red wavelengths. This gives me balanced growth.
Natural Light vs Artificial Light
I've tried both. Natural light works if you have the right window.
North-facing windows: Best for butterwort propagation. Consistent indirect light.
East-facing windows: Good for morning sun. But afternoon light gets too strong.
South-facing windows: Too intense. You'll need sheer curtains.
West-facing windows: Too hot in the afternoon. Skip this.
Seasonal Light Changes
Butterworts respond to light duration. This affects propagation success.
Spring Propagation
Best time: March to May. Days are getting longer. Light intensity is increasing.
My experience: I get 80% success rate in spring. The plants are actively growing.
Summer Propagation
Challenge: Light is intense. Heat is high.
My solution: I move propagation trays to shadier spots. I use 50% shade cloth.
Fall Propagation
Good time: September to October. Light is moderate. Temperatures are cool.
Success rate: About 70% for me. Slower than spring but still reliable.
Winter Propagation
Difficult: Low light. Short days. Cold temperatures.
Necessity: I use grow lights for 16 hours daily. I keep the room heated.
Common Light-Related Problems I've Encountered
Problem 1: Leaf Scorching
Symptoms: Brown edges. Yellow centers. Crispy texture.
Cause: Too much light. Direct sun. Heat buildup.
My fix: Move propagation tray to lower light. Use reflective surfaces to diffuse light.
Problem 2: Leggy Growth
Symptoms: Thin leaves. Long stems. Pale color.
Cause: Not enough light. Plants stretch toward light source.
My fix: Increase light duration. Move lights closer. Check light intensity.
Problem 3: No Root Development
Symptoms: Leaves stay green but no roots. After 2 weeks, nothing.
Cause: Light too low. Temperature too cold. Wrong light spectrum.
My fix: Increase light to 6000 lux. Warm the propagation area. Use full-spectrum lights.
Tools I Recommend for Light Control
Light Meter
Cheap option: Phone app. Works for basic needs.
Better option: Digital lux meter. $15-20 on Amazon. More accurate.
Timer
Need: Automatic timer for grow lights. Consistent light schedule.
My choice: Mechanical timer. Simple. Reliable. No programming needed.
Reflective Surfaces
I use: Aluminum foil. White poster board. Mylar blankets.
Benefit: Doubles light intensity without adding heat. Great for propagation.
Step-by-Step Light Control for Butterwort Propagation
Step 1: Prepare the Propagation Area
Choose a spot with stable temperature (70-75°F). Set up your grow lights. Position them 12 inches above the tray.
My setup: I use a wire shelf. Lights on the top shelf. Propagation tray on the middle shelf.
Step 2: Measure Current Light
Use your lux meter. Check light levels at the tray surface. Adjust light height until you get 6000-7000 lux.
Pro tip: Measure at different spots. Light isn't always even.
Step 3: Set the Timer
Program your timer for 14 hours on. 10 hours off. Start at the same time each day.
Why: Butterworts have circadian rhythms. Consistent light schedule matters.
Step 4: Monitor Daily
Check light levels every morning. Look for signs of stress. Adjust as needed.
What I watch for: Leaf color. Growth rate. Root development.
Step 5: Adjust After 2 Weeks
By day 14, you should see roots and plantlets. If not, increase light slightly.
My rule: Never change light by more than 1000 lux per day. Gradual changes work better.
Real Success Stories from My Propagation
I've propagated over 50 butterworts now. Here are my best results:
Best month: March 2023. Propagated 12 leaves. Got 11 plantlets. 91% success rate.
Best light: 6500 lux. Used full-spectrum LEDs. 14 hours daily.
Best temperature: 73°F consistent. No fluctuations.
Worst attempt: July 2022. 10000 lux. Killed all 8 leaves in 5 days.
What Experts Say About Butterwort Light
The RHS recommends bright indirect light for carnivorous plants. They specifically mention butterworts need protection from direct afternoon sun.
The AHS published a study showing butterwort leaf propagation success rates double with proper light control. Their research confirms what I found: 6000-8000 lux is optimal.
I've also read books by Peter D'Amato. He's the guru of carnivorous plants. His advice aligns with my experience: bright light but not direct sun.
Common Questions About Butterwort Light Control
How do I know if my butterwort is getting enough light?
Look at the leaves. Healthy leaves are sticky and green. Pale leaves mean too little light. Yellow leaves mean too much light.
Can I use regular house lights for propagation?
Only if they're close. Regular bulbs are too weak. You need grow lights or very bright windows.
How long does butterwort propagation take under proper light?
Typically 2-4 weeks. Some varieties take longer. My Pinguicula gigantea roots in 10 days. My Pinguicula primuliflora takes 3 weeks.
Should I rotate my propagation tray?
Yes. Every 3 days. Light distribution isn't perfect. Rotating ensures even growth.
What if my butterwort leaves turn red?
Red leaves are normal for some varieties. It means they're getting high light. Not a problem unless they also show burning.
Final Thoughts on Light Control
I wish someone had told me this when I started. Light is everything for butterwort propagation. Get it right, and you'll have success. Get it wrong, and you'll kill plants.
Start with 6000-7000 lux. Use full-spectrum lights. Keep the schedule consistent. Monitor daily. Adjust gradually.
I've killed enough plants to know these rules work. My current success rate is 85-90%. That's from zero knowledge to reliable propagation. You can do the same.
Remember: butterworts are forgiving once you understand their needs. They're not difficult. They're just specific. Give them the right light, and they'll multiply like crazy.





