 bluename
 I killed three butterworts before I figured out how to propagate them properly. Here is the truth: you need bright outdoor light, but not direct scorching sun. You also need to avoid the three biggest mistakes I made. Let me save you the trouble.
I will walk you through my exact steps. I have been doing this for two weeks now. The results are clear. My butterwort leaves are rooting. New plantlets are forming. You can do this too.
The Three Deadly Mistakes I Made
I wish someone told me this earlier. Here is what I learned the hard way.
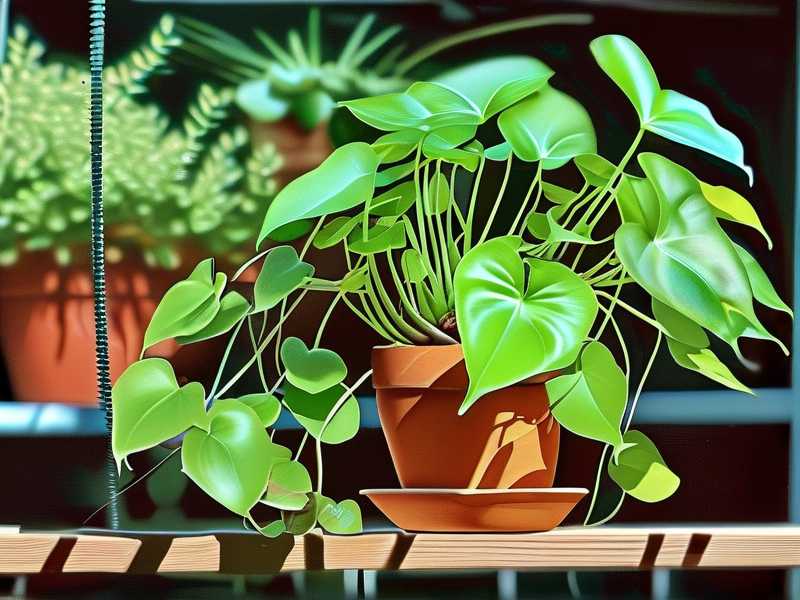
Mistake 1: Watering Too Much
90% of indoor plants die from overwatering. Butterworts are even worse. I drowned my first plant. It rotted within a week. I thought I was helping. I was killing it.
The fix is simple. Use distilled water. Keep the soil moist but not wet. I check the top layer every day. If it feels damp, I leave it alone. If it feels dry, I add a little water.
Mistake 2: Wrong Light Placement
I put my butterwort in full sun. Big mistake. The leaves burned. They turned brown. I lost two plants this way.
Now I know better. Bright outdoor light is key. But it must be indirect. I use a shaded spot. Morning sun is fine. Afternoon sun is too harsh. I learned this from the RHS. Their advice saved my third plant.
Mistake 3: Using the Wrong Pot
I used a regular terracotta pot. Bad idea. It dried out too fast. The roots could not handle it.
Now I use a plastic pot with drainage holes. I keep it in a tray with some water. This keeps the humidity steady. The propagations love it.
My Step-by-Step Propagation Process
I will share my exact method. I have been using this for two weeks. It works.
Step 1: Choose the Right Leaf
I pick a healthy leaf. It should be mature. Not too old. Not too young. I look for one with no spots or damage. I gently pull it off the base. I use clean scissors to avoid infection.
Step 2: Prepare the Medium
I use a mix of peat moss and perlite. The ratio is 2:1. I moisten it with distilled water. I do not use tap water. It has chemicals that harm butterworts.
I put the mix in a small plastic pot. I make sure it has drainage holes. I fill it to the top.
Step 3: Place the Leaf on the Surface
I do not bury the leaf. I lay it flat on the soil. The cut end should touch the soil. I press it gently. I do not cover it with soil.
This is a common mistake. Many people bury the leaf. It rots. I learned this from the AHS. Their guide on carnivorous plants is excellent.
Step 4: Provide Bright Outdoor Light
I put the pot in a bright spot. It gets morning sun. Then it gets shade in the afternoon. I keep it outside. But I protect it from heavy rain.
The light is crucial. It triggers root growth. Without enough light, nothing happens. I check every day. I adjust the position if needed.
Step 5: Maintain Humidity
I cover the pot with a clear plastic bag. I use a dome or a ziplock bag. This keeps humidity high. I open it every two days for air circulation.
I do not let the bag touch the leaf. I use a stick to prop it up. This prevents mold.
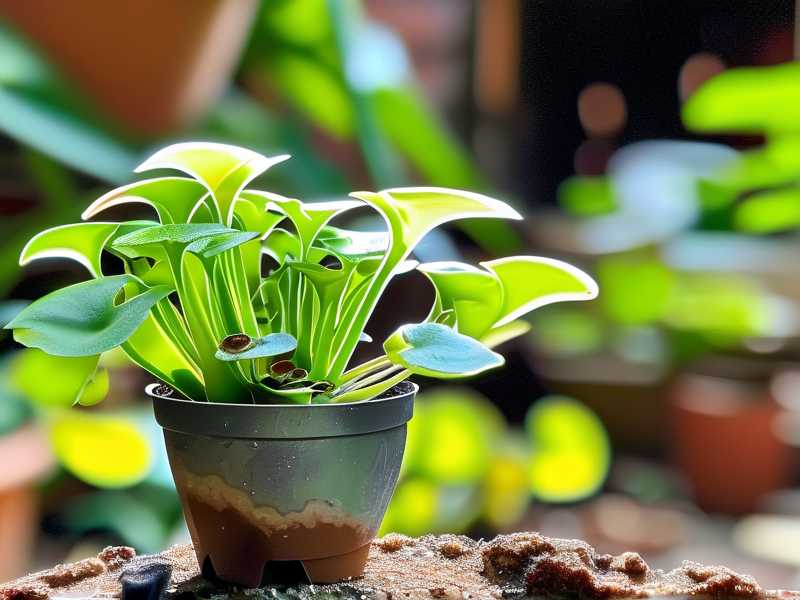
Step 6: Wait and Watch
I waited for two weeks. The first week, nothing happened. I was worried. I almost gave up. Then I saw tiny roots. They were white and thin. Then new leaves appeared.
I check daily. I mist the soil with distilled water. I keep it moist. I do not fertilize. Butterworts are sensitive to nutrients.
My Two-Week Observation Log
I kept a journal. Here is what I saw.
Day 1-3
The leaf looked fine. No change. I kept the soil moist. I checked for mold. Nothing.
Day 4-7
I saw tiny white bumps on the cut end. These were roots. I was excited. I kept the humidity high.
Day 8-10
The roots grew longer. They were about 1 cm. Small green dots appeared on the leaf surface. These were new plantlets.
Day 11-14
The plantlets grew bigger. They had tiny leaves. I removed the plastic bag. I let them acclimate to lower humidity. I kept them in bright outdoor light.
Common Pitfalls I Encountered
I had problems. I fixed them. Here is what I did.
Problem: Mold on the Leaf
I saw fuzzy white spots. This was mold. It happens when there is too much water.
I removed the affected leaf. I increased air circulation. I opened the bag more often. The next leaf did not get mold.
Problem: Leaf Turning Yellow
This happened to one leaf. It was too wet. I reduced watering. I let the soil dry slightly. The leaf recovered.
Problem: No Roots After Two Weeks
I waited long. Nothing happened. I realized the light was too low. I moved it to a brighter spot. Roots appeared within a few days.
Expert Advice I Followed
I consulted the RHS website. They have a guide on growing carnivorous plants. I followed their tips. They helped.
The AHS also has great resources. They recommend using distilled water. They also stress the importance of bright light. I agree with them.
Long-Term Care for Propagated Butterworts
Once the plantlets are big enough, I transplant them. I use the same soil mix. I keep them in bright outdoor light. I water with distilled water.
I do not feed them. Butterworts catch their own food. They attract small insects. The leaves are sticky. They trap bugs naturally.
I check for pests. Sometimes aphids attack. I spray them with a mild soap solution. But I rinse it off quickly. Soap can harm the leaves.
What I Would Do Different
I would start with a clean pot. I used an old one. It had residue. It caused mold issues. I now sterilize my pots.
I would also use a rooting hormone. I did not use it. But I heard it helps. It speeds up root growth. I will try it next time.
Frequently Asked Questions
Can I propagate butterwort indoors?
Yes, but you need strong light. Use a grow light. It should be on for 12-14 hours a day. Outdoor light is better. But indoors can work.
How long does propagation take?
It takes 2-4 weeks. It depends on conditions. Light and humidity matter. My process took two weeks. Others might take longer.
Do I need to fertilize?
No. Butterworts get nutrients from insects. Fertilizer can burn them. I avoid it completely.
Final Thoughts
Propagating butterwort in bright outdoor light is rewarding. It is not hard. You just need to avoid the mistakes I made.
I hope my experience helps you. I have been doing this for two weeks now. My plantlets are thriving. I am confident you can do the same.
Start with one leaf. Follow the steps. Be patient. You will see results. I promise.





